Earlier this month we started a series on creating a project management solution with WordPress, the P2 theme, and a smattering of plugins.
We created our “template site” in the second week. Plugins were installed, and the appearance was customized. This is the site that will be replicated whenever we roll out a new project site.
This week we’re going to create our first client site. Let’s get started. 🙂
Go To Network Admin
The first step is to log into your Network Administrator dashboard. An easy way to do this is by appending /network/ after /wp-admin/ in the URL, so the address looks something like this:
subdomain.yourdomain.com/wp-admin/network/
Using the Blog Copier Plugin
On the sidebar, mouse over Sites and click Blog Copier.

Choose the source blog. This is the “template” site that you created previously.
Enter a URL for the new blog. Keep it simple, e.g. the name of the client or project. Use only lowercase numbers, letters, and hyphens.
Enter a title for the new project blog. If you uploaded media as part of your project site template, make sure the “Copy Files” checkbox is checked.
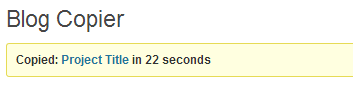
When everything looks good, click “Copy Now” to create your new site. WordPress will chug away creating the new site (it might take a minute or two depending on your setup). When completed, you’ll see a “Copied” status message:
Fixing Broken Paths
Ack! My new site won’t load. What gives?
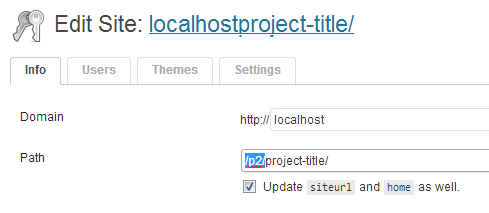
There’s a known bug with Blog Copier not setting paths properly on newly-copied blogs, but it’s an easy fix. On the sidebar, click Sites. Look for the newly-created blog. Mouse over the title and click Edit.
In the Info tab, update the Path field and click Save Changes.
Your new project site is now ready to go!
Let’s get in there and start using P2.
Writing Posts
There are four post formats included with P2: Status Update is like a Facebook or Twitter update. It’s meant to be brief, and does not include a unique title. Blog Post allows you to add a title, and is generally intended for longer-form content. Quote gives you a field for the quoted text, and the citation source. Lastly, the Link post format is meant for you to just drop in a link.
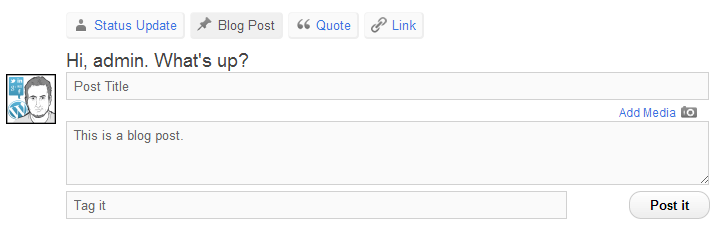
Simple, right? You can add tags, embed media, and use HTML in your posts as well. Chances are you’ll be working with Status Updates and Blog Posts the most.
If you’d rather use the traditional WordPress Add Post screen, you can do that as well, right from the WordPress toolbar at the top of the screen:

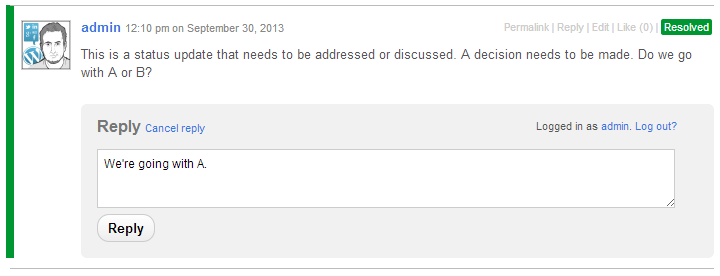
Leaving Comments
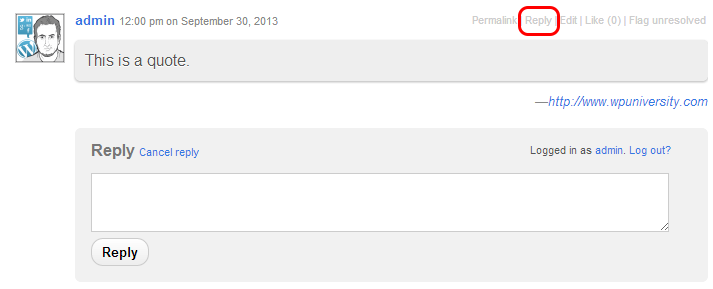
Just click Reply next to any post to toggle the comment box:
Toggling Comment Threads
If you want to skim posts without seeing all of the conversations, just click the Toggle Comment Threads link next to Recent Updates:

Flagging Posts
If a post needs to be addressed — e.g. a decision needs to be made, or an issue needs to be taken care of for the project to proceed — click the Flag Unresolved link. This will highlight the post in red.

When the post is resolved, click the Unresolved flag to change it to Resolved.
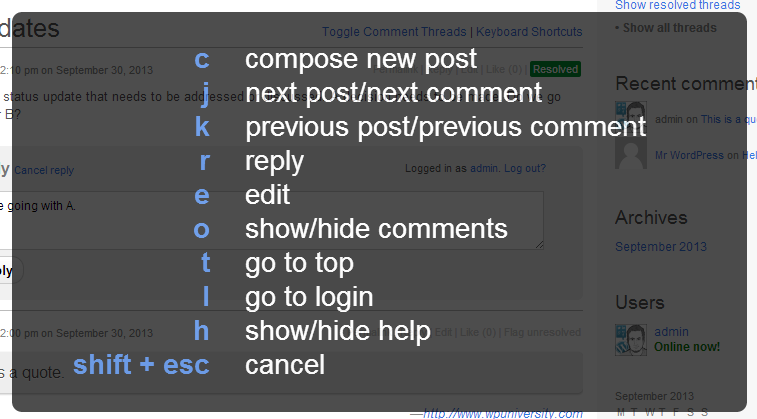
Keyboard Shortcuts
There are a number of keyboard shortcuts built into P2 that help you get things done more efficiently:
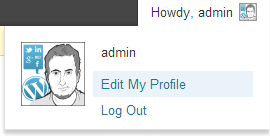
Customizing Notification Settings
Mouse over your name in the top-right corner and click Edit My Profile.
At the bottom of the Profile screen will be a section for P2 By Email, a plugin we installed earlier. You can customize your notification settings here.
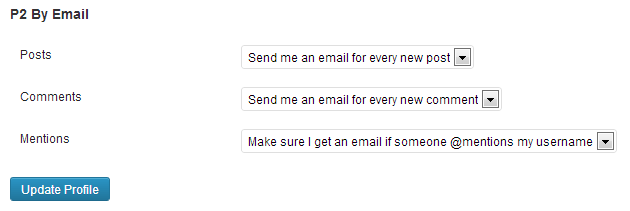
Click Update Profile to save your changes.
Wrapping Up & Next Steps
The beauty of this setup is that you retain a lot of control over how things work. WordPress is at the core of it all, so if there’s anything you want to do — adding functionality, tweaking designs — you have complete freedom to do so.
As with any tool, you’ll need to use it a few times to get a feel for what works best for you. How can this be incorporated into your existing workflow? What components are missing? What are the advantages/disadvantages of this approach versus going with more locked-down 3rd party software?
Like P2? Check out O2.
O2 is the evolution of P2, and you can sign up on the site to get an early hands-on with the product. You can learn more about the evolution of P2 > o2 from Beau Lebens’ presentation on SlideShare.