
When people talk about customizing a theme in WordPress, they usually jump right into child themes. Sure, child themes get the job done. But if you’re just looking to make some aesthetic changes — basically nothing more than modifying CSS, a fresh coat of paint for your blog, some new crown mouldings for your portfolio — using a child theme is a lot like taking a sledgehammer to a finishing nail.
Today we’re going to put the sledgehammer down and take a more reserved approach. In this post, we’re going to look at how you can modify a theme’s CSS, without creating a child theme or editing any theme files. Let’s get started. 🙂
A Nod to WordPress.com
In last week’s crash course on WordPress.com we wrote about the custom design upgrade.
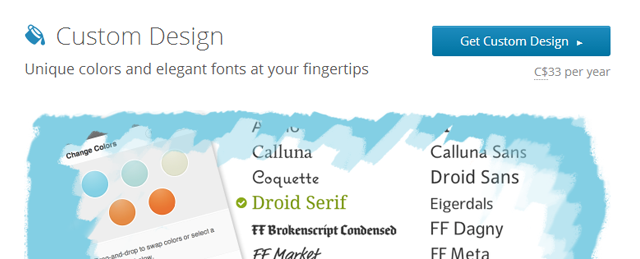
The most powerful component of this upgrade is Custom CSS, which lets you add your own CSS rules. It basically acts just like a child theme’s style.css file. New CSS rules can be added on top of what the theme already provides, or you can choose to dump the original styles entirely and style everything from scratch.
With WordPress.com, everything is handled through your /wp-admin/ administration screens. We’ll be mimicking that functionality with our approach in this post. This way you won’t need to fuss with FTP or desktop apps.
Enabling Custom CSS: Choosing a Plugin
There are a number of WordPress plugins available to add a CSS editor to your backend. We’ve profiled a few of them below:
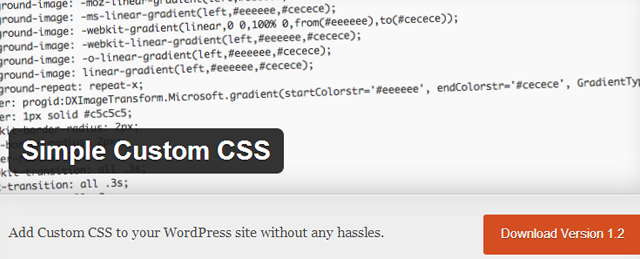
Simple Custom CSS
The Simple Custom CSS plugin is exactly as it sounds. No frills, no fluff. The editor can be found at Appearance > Custom CSS. There’s no syntax highlighting or autocompletion here. It’s a straight-up text editor.
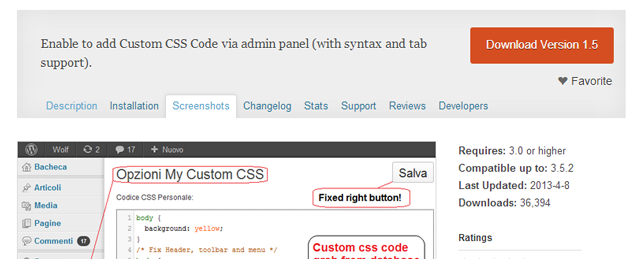
My Custom CSS
My Custom CSS includes syntax highlighting, which is very useful when you’re adding a lot of custom CSS. It appears in your /wp-admin/ sidebar as My Custom CSS.
Custom CSS (Jetpack)
CSS customization is included as part of the Jetpack plugin from WordPress.com. It’s the most sophisticated of the three options showcased here, and it behaves exactly like the WordPress.com upgrade. (The ability to track and compare CSS revisions, in particular, is very useful.) The caveat is that you must connect to WordPress.com in order to use the Jetpack plugin.
Install and enable the plugin of your choice. (We’re going to use the My Custom CSS plugin.) Note that disabling these plugins will remove the CSS modifications from your site!
Finding The Right Theme
Now that we’ve got the Custom CSS editor installed, we need to find a theme to edit.
Some themes are better suited to editing than others. We suggest finding a theme that’s very clean, very sparse, just like an artist’s blank canvas.
We’re not concerned about colours or fonts – those can be changed easily. Instead, we’re looking at page layout (How are things positioned? Where are the sidebars? Where are the navigation menus?), theme functionality (Is it responsive? Custom menus? Custom headers?), and performance (Does the theme load quickly? What’s the feedback like in the support forums?).
Minimalist themes are a great choice for this. Here are a few of the more popular ones in the WordPress.org theme repository:
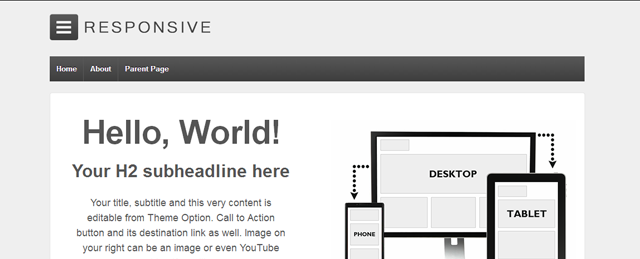
Responsive Theme
The Responsive theme from CyberChimps has become very popular as a starting point for theme customization. It includes 11 widgetized areas; custom templates; custom menus; threaded comments; theme options; support for 40 languages (including RTL support and multilingual). Additionally, Responsive supports the WooCommerce and Jigoshop ecommerce plugins out of the box.
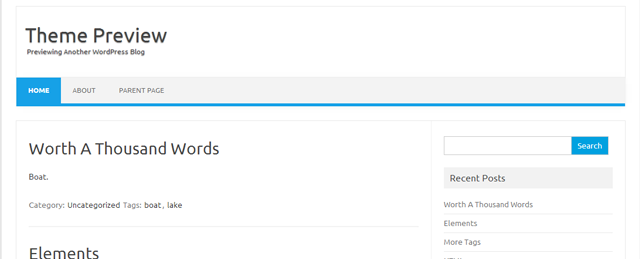
Iconic One
While the Responsive theme focuses on features and functionality, Iconic One focuses on speed and SEO. It lets you change the site logo, background colour, footer text, and social media links without touching any code. It’s optimized for search, but also includes support for the All In One SEO and WordPress SEO by Yoast plugins.
Twenty Twelve
Twenty Twelve was the default theme for new WordPress installations prior to the release of Twenty Thirteen. It’s fully responsive with two templates (right-hand sidebar and full width without a sidebar). It supports microformats, post formats, RTL languages, and featured images. The WordCamp Toronto 2013 site uses a modified version of Twenty Twelve.
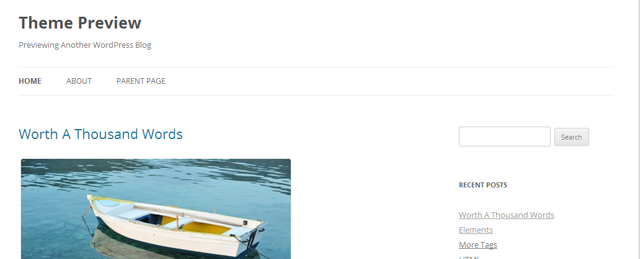
These are just some examples. Install the theme of your choice – it could be from the few listed above, or any other theme you want. (For this post, we’ll be going with Iconic One.)
Customizing Theme Elements
Time for the fun stuff! Now that we have our CSS editor and theme installed, we’re going to get our hands dirty with some actual coding. If you’re not familiar with CSS, here are some links to get you started:
Identifying IDs and Classes
The first thing to do is choose the elements that we want to change. We do this by identifying the ID or class of an element. I’m using Google Chrome, so this is a simple case of right-clicking something and choosing Inspect Element from the context menu. (This article covers the Inspect Element tool for different browsers.)
Let’s say I want to change the background colour of stickied posts in Iconic One. I right-click the stickied post and Chrome’s Developer Tools opens up. The element I clicked on is highlighted in Developer Tools. As I mouse over other elements in the source code, Chrome highlights the element on the page:
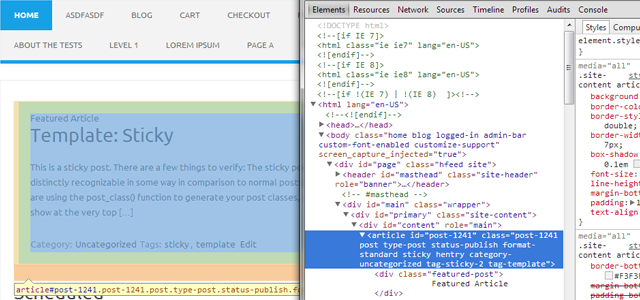
In this example, the element I want to style is the article element. Since I want to change the colour of all stickied posts, I’m looking for a class, and not an ID. Why? Classes can be used multiple times on a page; IDs cannot.
There are a number of classes attached to this article element: post, type-post, status-publish, format-standard, sticky, hentry, category-uncategorized, tag-sticky-2, tag-template.
It’s good to see that the theme includes a lot of classes like this, because it gives us more options for customization. Based on this list, I know that I can customize posts in categories (“category-uncategorized”) and tags (“tag-template”). It’s not something that I want to do right now, but the option is there.
Changing Rules with Developer Tools
A perk of using my browser’s Developer Tools is that I can test style changes on elements without having to make any changes to the site.
To do this, I inspect an element and select the element in the source view (left-hand panel). At the top of the Style view (right-hand panel) is an element called element.style. I can add CSS rules to this element to see how it affects the element on the page:
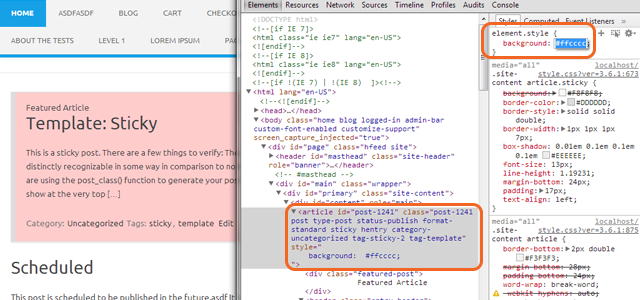
In the image above, I’ve changed the sticky post background from the default grey to a light red (#ffcccc). Changes made in the Developer Tools editor only apply to my browser, so the sticky post is only red for me. Anyone else viewing this page on a different computer won’t see the changes that I’ve made.
You can do this for any element on your page.
Testing New Rules with Developer Tools
In the previous step I added some rules to element.style, but that won’t do us any good in the custom CSS editor. Instead we need to determine the exact ID or class to make sure we style it properly. I reset the CSS by refreshing the page in my browser. This wipes out the customizations I’ve made so far.
Once again, I right-click the sticky post and choose Inspect Element from the menu. I click the small plus sign (+) to add a new CSS rule to the page:
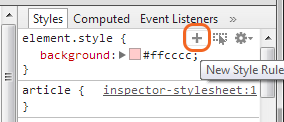
This will create a new rule for me to work with. (Again, I’m using Google Chrome as the example here – but this capability is available in other browsers as well.)
I still want to change the background colour of sticky posts. Based on the element and classes we looked at earlier, I’m going to try the following:
article.sticky { background: #ffcccc; }
I add this to the new rule I’ve created… and nothing happens! Why? It turns out that the theme’s CSS has a rule that is more specific than mine. They use:
.site-content article.sticky {}
Which means that their rules are given priority over the rule I created. We can get around this, however, by applying the !important declaration to the rule I just created:
article.sticky { background: #ffcccc !important; }
This tells the browser to give my rule priority. It’s not best practice, but it works. It’s useful when we’re testing if the right element ID or class has been targeted, and since we’re not editing the theme’s stylesheet, you’ll often find it necessary for customization.
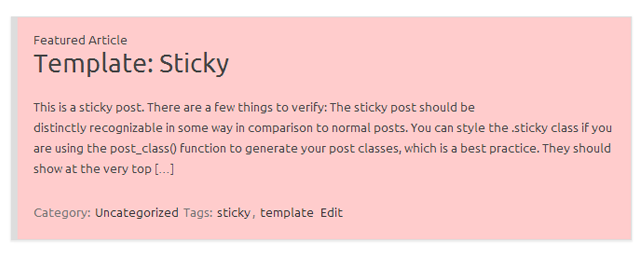
With the new !important declaration in place, the sticky post background has changed. Everything looks good – it’s time to make this change live for everyone!
Adding Your Custom CSS Rule
The next step is very easy. We’re going to take that new CSS rule and add it to our Custom CSS editor:

I save the changes and check my site. The change is now live:
What Next?
In this post we covered CSS editor plugins, minimalist themes, and using your browser’s Developer Tools to identify and modify theme elements with CSS. Gradients, animations, images, positioning – there are plenty of things that you can do with CSS!
This same approach can be used on WordPress.com sites if you have the Custom Design upgrade. Use your browser’s Developer Tools to identify elements and experiement with new rules, then apply them using the Custom CSS editor.
Featured image credit: K P on Flickr