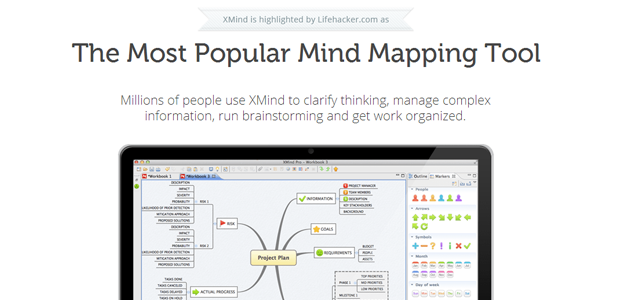
Xmind is a fantastic tool for creating mindmaps and diagrams. They tout themselves as “the most professional mind map software”.
While I can’t endorse that, I can say that Xmind has been an incredibly useful addition to my workflow.
(Don’t care about the rationale, just want the template? Here you go.)
Let’s get visual.
I’m a visual person. Pictures help me think. My notebooks (yes, physical notebooks) are filled with doodles, ideas, and reminders from team meetings and long train rides.
- Related: Visual Literacy E-Learning Tutorial
For years I’ve wanted to take what I do on paper and do the same on-screen. Unfortunately I haven’t had much luck. Tools like Google Drawings (part of Google Drive) and Microsoft Office’s SmartArt have gotten me close, but more often than not, I spend too much time fussing over how things look. Not very productive!
Trying out Xmind 2013
I came across Xmind while digging through Google search results for mindmapping tools.
Xmind caught my attention for three reasons:
- First impressions. Xmind’s website gets straight to the point. Simple navigation, clean design, a screenshot of the application (why do apps bury these, anyway?), an introductory video, and clear calls to action.
- Pricing tiers. The free version of Xmind (which I’m currently using) doesn’t prevent you from getting things done. Upgrades are reasonably priced.
- Useful features. With the Plus and Pro versions, you can export to more file formats, run presentations, and create Gantt charts.
With that in mind, I put Xmind to task on something that usually takes me too long: scoping out a website project.
Follow your NOSE!
The NOSE Pattern of Persuasive Structure is something I was introduced to in the book Persuasive Business Proposals.
It goes like this:
- Needs: The customer’s key business needs, problems, issues, pains, or opportunities: the drivers behind the deal.
- Outcomes: The positive impact that will come from meeting those needs: the motivation to move forward.
- Solutions: A recommendation for a product or service that will solve the problem and deliver the outcomes.
- Evidence: Proof you can do the job on time and on budget: your differentiators.
How does Xmind fit in?
This is what I shared on the Advanced WordPress group:
Just tried something a bit different… put together a proposal for a small project using Xmind (http://www.xmind.net/). Visualized all the dependencies (design/functional/content), the budget (expenses/hourly rate), and the schedule, in a mind map. Made notes on everything. Exported into a document, did some formatting in Google Docs, and sent it off as a PDF to the potential client. The process could definitely use some refinement, but this was the first time I’ve tried this approach, and it was *fast*.
This structure follows the NOSE pattern. Here’s how I did it.
Mapping the Structure
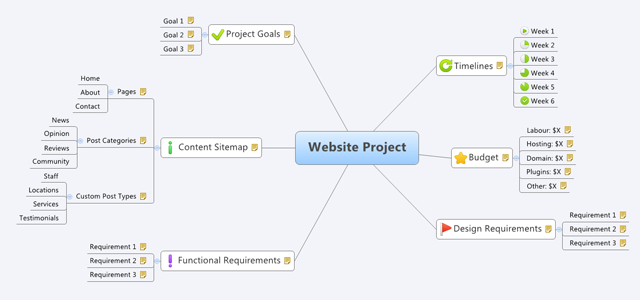
For this we’re just using a basic map with six nodes, one for each component of our project:
- Project Goals
- Content Sitemap
- Functional Requirements
- Design Requirements
- Budget
- Timelines
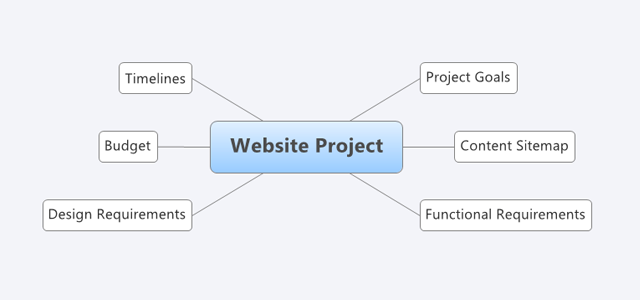
In detail:
Project Goals are specific objectives for the project. These are based on both the Needs and Outcomes of the NOSE model.
The Content Sitemap is a simple overview of the pages, sections, or post types on the site. I like to follow the WordPress template hierarchy as much as possible.
The Functional Requirements are things that site users should be able to do on the site. For simplicity’s sake I’ll include plugin requirements here as well.
Design Requirements are the last of our Requirements map, and address the look and feel of the site.
Collectively, these requirements map out our Solutions in the NOSE model.
Budget details the cost breakdown. Are you charging per component or per phase? With the small-budget projects that I work on as a developer, the budget is usually split between labour (my time) and itemized costs (plugins, hosting, domain registration, and other products or services). It may be different for you.
Timelines give your client an idea of how the project will proceed. In my case, I prefer to work through weekly phases/milestones.
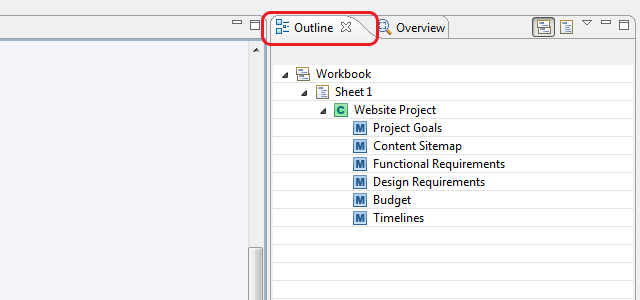
TIP: Take note of the Outline panel. When it comes time to export your mind map, your sections will follow the outline order.
Adding Notes
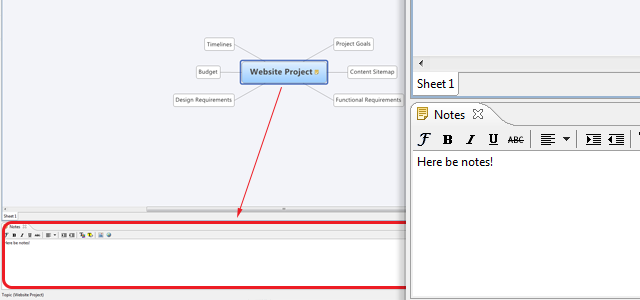
Once we’ve added a separate node for each of our project components, we can start adding notes. This makes up the bulk of content in our proposal.
Xmind provides a separate Notes panel that you can use to enter formatted text.
Adding Markers
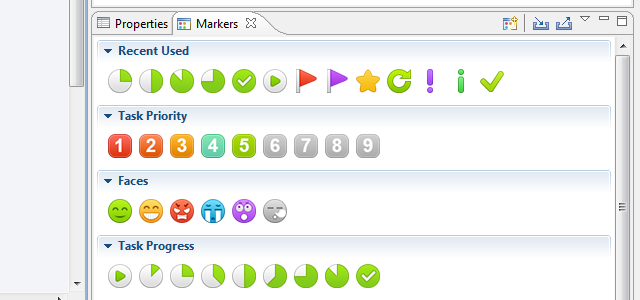
Markers are icons that can help communicate ideas very quickly.
There are some basic markers that ship with Xmind, and you can add custom ones.
My suggestions:
- Use distinct icons for different components.
- Use task progress for timeline phases.
A (Rough) Map in Xmind
With notes and markers added, here’s what a simple structure looks like:
Exporting Your Map
Once you’ve added notes and markers to all of the requirements and components of your map, it’s time to export.
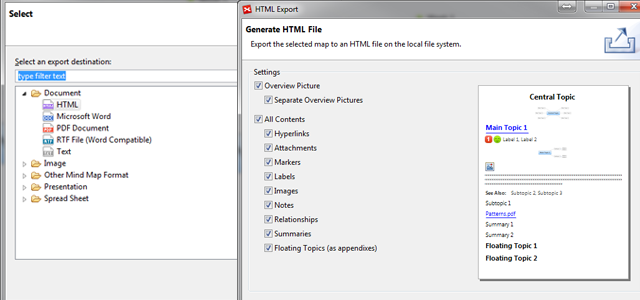
Since I’m on the free version, I’m going to export to HTML. This does two things:
- Xmind creates an HTML page of my map, with each node expanded as a heading, child nodes as subheadings, and notes as content.
- The actual map is rendered in image files. I can separate Overview images.
You can customize a number of settings during the Export step.
Tidying Up Your Proposal
The next part is easy. Just copy the entire page into the app of your choice!
With your content now taken care of, you can focus on the aesthetics: formatting text, adding additional details, and so on.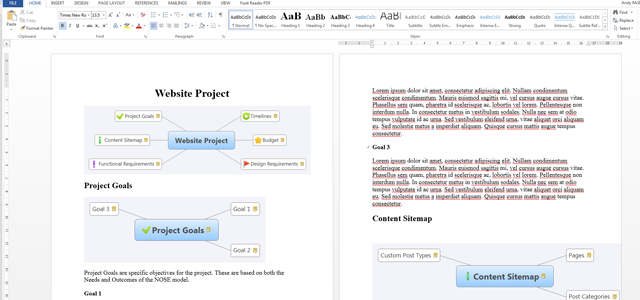
In this case, I’m using Microsoft Word 2013.
Grab the template!
We’ve made this template available on the Xmind library. Feel free to use it! Chances are we’ll be making more like this in the future:
