A Gravatar is your “globally recognized avatar”. It’s the profile picture you use when you want your community to recognize you across all networks, including the WordPress front and back-end. Very useful, and easy to create.
Start by heading to the Gravatar website.
From there, you enter your email address in designated box:
Then click:

This will bring you a screen that allows you to sign in with WordPress.
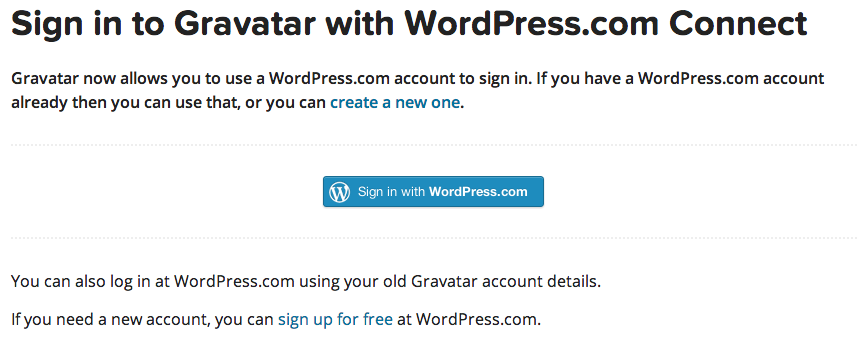
If you have a WordPress account, click this button:
If you don’t have a WordPress account just click on the following link to create one:
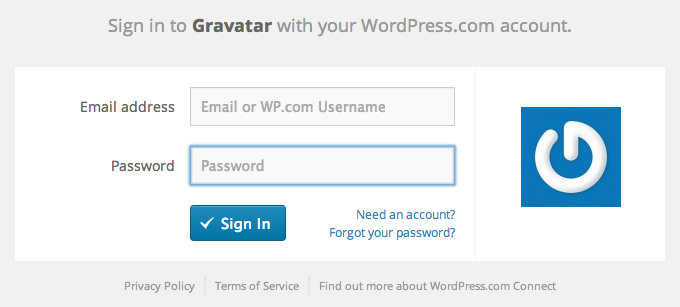
Once you have created your WordPress login, you can sign in to create a Gravatar by entering your email address and password here:
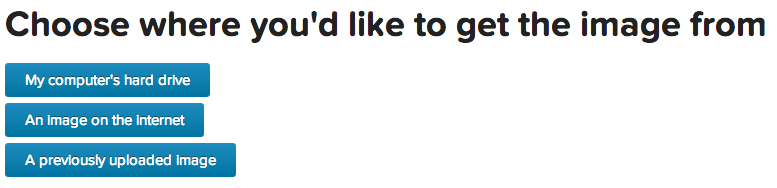
You will then be taken to the ‘Manage Your Gravatar’ page. If you haven’t added any photos yet, you will click on this link:
And then you will choose where to find the photo by clicking the option that applies to you here:
Once you have finished cropping your Gravatar click this box:
You will then be asked to choose a rating for your Gravatar:

If you are using your Gravatar for professional purposes, make sure you can classify it as G or PG.
Once you have chosen your rating, you will be taken back to the ‘Manage Your Gravatars’ page. You can add additional email addresses by clicking
And additional photos by clicking
Once you have decided on the photo you want to use, click it. A confirmation box will appear and to continue you must click

From now on, this image will be connected to your email address, so your contacts will always be able to identify you!