So you’re ready to go live with your WordPress site. After building it, adding content, and of course optimizing your copy for SEO, there is one final step. Tracking. Making sure people are visiting your site and reading your content and all your work isn’t going to waste.
What is the best software to use?
Google Analytics. Of course.
How do you install it?
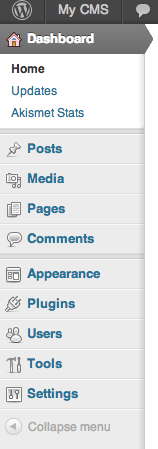
Installing Plugins on WordPress is quick and easy. When you are in your Dashboard, your left side panel will look like this:
To install plugins, hover over the Plugins tab and click on ‘Add New’:

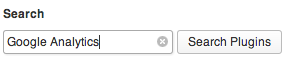
This will bring you to an empty Search box. There you will enter Google Analytics:
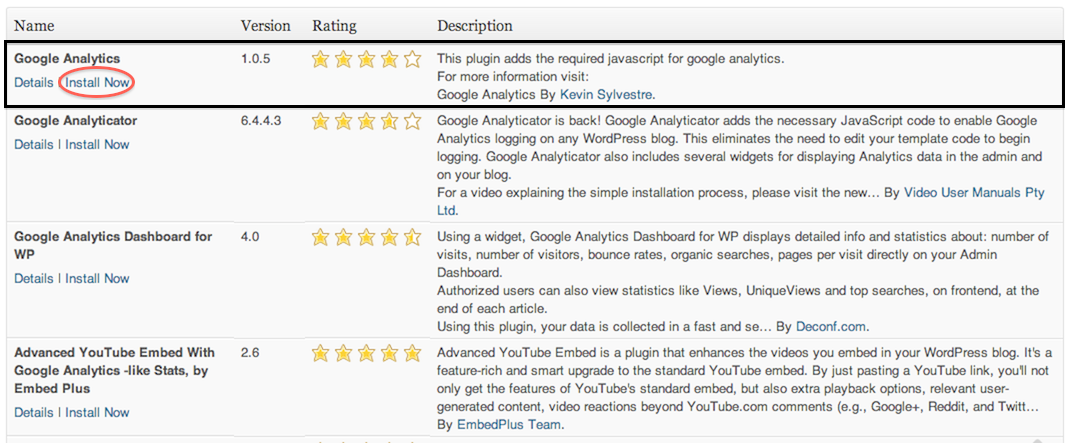
This will bring you a list of options, click ‘Install Now’ under Google Analytics:
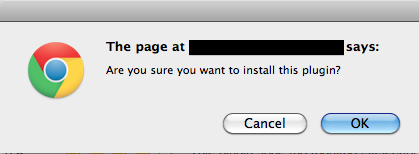
You will be asked if you are sure you want to download the plugin, click ‘OK’
Your download will begin automatically after you click ‘OK’.
Once it is finished, you will see this on your screen. Click ‘Activate Plugin’

This will take you to your Plugin manager. Google Analytics will now be on the list:
![]()
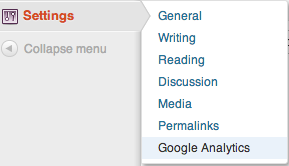
From here, you must go into ‘Google Analytics’ in your ‘Settings’:
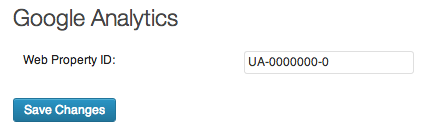
Enter the UA (UA-0000000-0) and click ‘Save Changes’
You will now be able to see and analyze all the data based on your site visitors!