There are plenty of reasons to delete files from your Media Library in WordPress. Accidental uploads, replacing old files, and freeing up storage space on your web host are but a few.
In this walkthrough we’re going to delete a media file. Keep in mind that this cannot be undone. To replace deleted media, you’ll need to re-upload the file.
Let’s get started. 🙂
Click Media.

While it’s possible to delete files directly from the Media Library screen, this can sometimes lead to problems when the wrong file is deleted accidentally.

This is often an issue when you have multiple files with similar titles, so we’re going to take a more diligent approach.
In the File column, find the media that you’d like to delete and click its title.

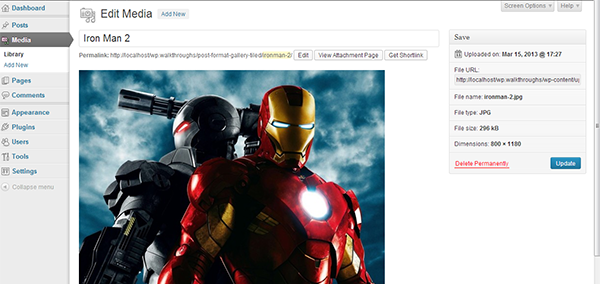
On the Edit Media screen you’ll be able to see more information about the file.

This helps us know if we’ve chosen the right one.
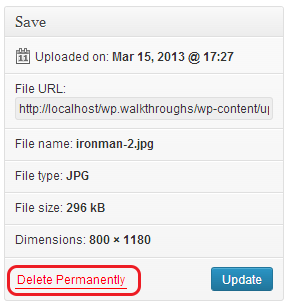
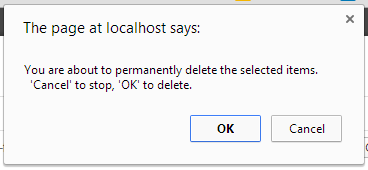
To delete this file, click Delete Permanently, then click OK in the confirmation box.


Remember: Deleting media cannot be undone. To replace deleted media, you’ll need to re-upload the file.
Your media file has been successfully deleted.

Take note of the alert message that confirms the deletion.
Photo credit: Alexei Kuznetsov on Flickr
