Don’t give out your username and password! Give other people their own user accounts instead. In this lesson you’ll learn how to add a new user to your site.
Adding users is a secure way for you to give other people access to work with your site. Everyone has their own unique login, and you can limit the level of access that each person has by assigning different Roles.
Adding a New User
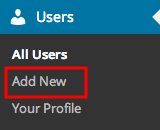
In the /wp-admin/ sidebar, click USERS.
![]()
Under Users, click ADD NEW.
You can also click ADD NEW at the top of the Users screen.
![]()
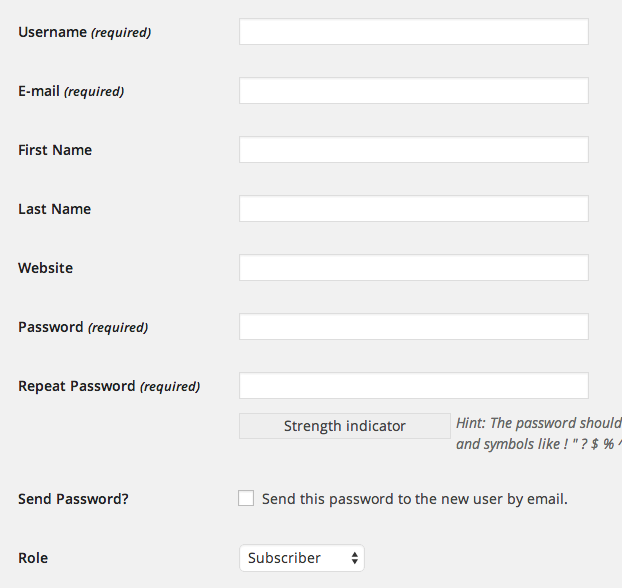
On the Add New User screen, fill out the details.
- Username: This is what your user will use to log into WordPress. This cannot be changed once entered.
- Email Address: This address needs to be real – it’s how WordPress will send alerts to the new user.
- First Name & Last Name: Often used on author pages.
- Website URL: User’s website (if they have one).
- Password: The user can change this afterwards. If you’d like to send the password to your user via email, check the box for Send this password to the new user by email.
- Role: The level of access to give the user.
By default, WordPress includes five roles:
- Administrator: Has full access to do everything on the site.
- Editor: Can publish and manage posts, including those written by other users.
- Author: Can publish and manage their own posts.
- Contributor: Can write and manage their own posts, but cannot publish them.
- Subscriber: Can only manage their own profile.
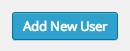
Last step: Click ADD NEW USER.
That’s it! You’ve successfully added a new user! Congratulations. 🙂